


Turbot中级教程-应用-实现全景图功能
Turbot中级教程-应用-实现全景图功能
说明
- 全景演示将展示如何实现令人印象深刻的全景图片。
- 通过turtlebot_panorama使用pano_ros快照和拼接在一起创建全景图片。
操作步骤
- [Turbot] 启动机器人
$ roslaunch turbot_bringup minimal.launch
- [Turbot] 运行panorama.launch
$ roslaunch turbot_apps panorama.launch
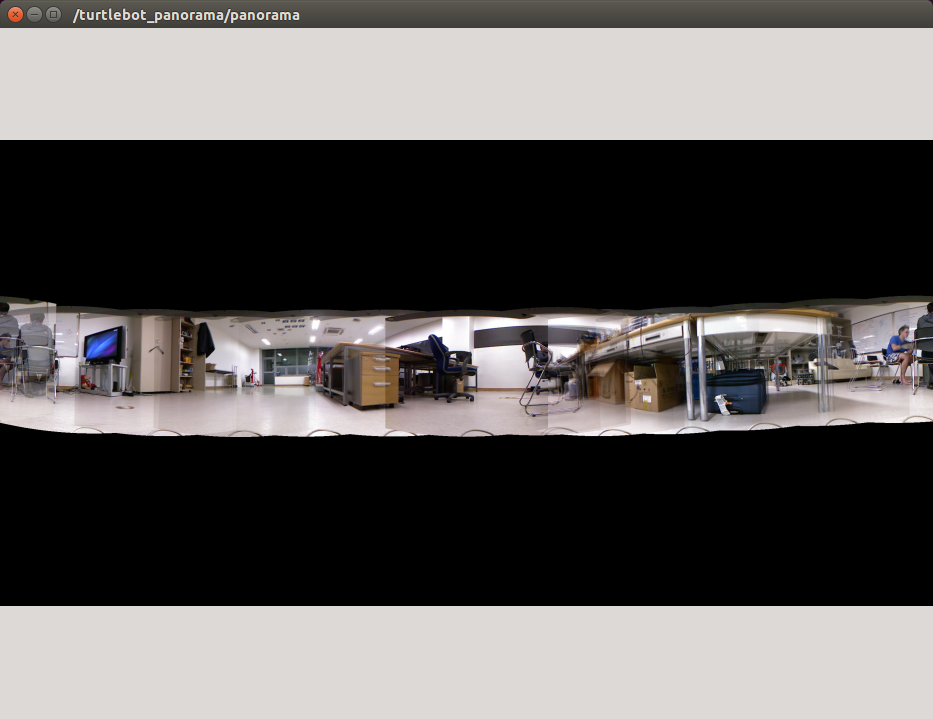
- [Remote PC] 查看生成图像
$ rqt_image_view image:=/turtlebot_panorama/panorama
等机器人旋转拍照完成后,即会生成图像。
- [Remote PC] 运行旋转拍照程序
$ rosservice call turtlebot_panorama/take_pano 0 360.0 30.0 0.3
- 模式:
0 for snap&rotate (i.e. rotate, stop, snapshot, rotate, stop, snapshot, ...)
1 for continuous (i.e. keep rotating while taking snapshots)
2 to stop an ongoing panorama creation

(360.0)角度

(30.0)创建快照和旋转模式时为角度间隔(度),其他模式为时间间隔(以秒为单位)

(0.3)旋转速度(弧度/秒)
- [Remote PC] 执行以下命令监控程序的运行进程
$ rostopic echo /rosout |grep msg:
- [Remote PC] 生成图像会自动保存在主机端的桌面上,可以使用
scp命令远程复制到从机端再查看
$ scp ubuntu@192.168.0.14:/home/ubuntu/Desktop/pano.jpg Desktop/
- 效果图:
演示视频
参考资料
获取最新文章: 扫一扫右上角的二维码加入“创客智造”公众号