


Arduino内置教程-通讯-多串口Mega
纠错,疑问,交流: 请进入讨论区或 请点击进入页面,扫码加入微信群或Q群进行交流
获取最新文章: 扫一扫加入“创客智造”公众号
多串口Mega
很多时候一个串口不够用。当尝试和多个串口的设备通讯,同时发送数据回主串口窗口,一些额外的RX/TX连接口就变成很受欢迎的了。这个例子充分地利用了Arduino和Genuino Mega的3个辅助串口接口,使任何输入从连接器读取的数据直接发送到到主TX线,然后,发送到主串口窗口供观察。
硬件要求
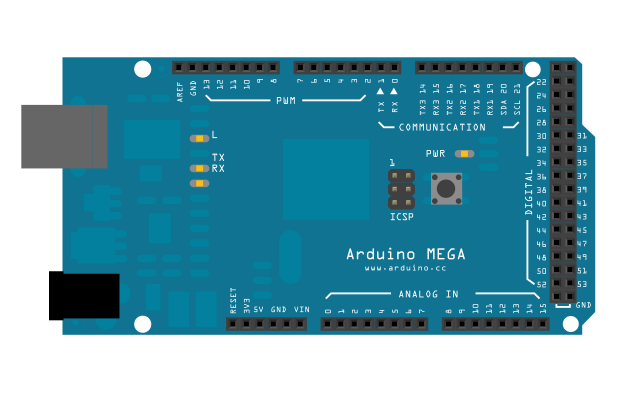
- Arduino or Genuino Mega 开发板
- 串口设备(Xbee收音机,蓝牙模块,或者RFID读取器,或者其他开发板)
电路
-
检查你选择的串口设备的数据手册后,确保电源和连线没问题。把你设备的RX pin和TX pin连接到你Mega开发板的TX1和RX1,如原理图所示。
-
确保你的Mega开发板通过USB连接到你的电脑,启动串口通讯。
原理图

样例代码 这个例子假设你的串口设备连接到TX1和RX1
/*
  Multple Serial test

 Receives from the main serial port, sends to the others.
 Receives from serial port 1, sends to the main serial (Serial 0).

 This example works only with boards with more than one serial like Arduino Mega, Due, Zero etc

 The circuit:
 * Any serial device attached to Serial port 1
 * Serial monitor open on Serial port 0:

 created 30 Dec. 2008
 modified 20 May 2012
 by Tom Igoe & Jed Roach
 modified 27 Nov 2015
 by Arturo Guadalupi

 This example code is in the public domain.

 */


void setup() {
  // initialize both serial ports:
  Serial.begin(9600);
  Serial1.begin(9600);
}

void loop() {
  // read from port 1, send to port 0:
  if (Serial1.available()) {
    int inByte = Serial1.read();
    Serial.write(inByte);
  }

  // read from port 0, send to port 1:
  if (Serial.available()) {
    int inByte = Serial.read();
    Serial1.write(inByte);
  }
}更多
- serial.begin()
- serial.read()
- serial.available()
- if()
- ASCIITable - 示范使用Arduino的高等的串口输出函数。
- Dimmer - 移动鼠标来改变LED灯的亮度
- Graph - 发送数据到电脑,然后在Processing里画出它的图表。
- Midi - 连续发送MIDI音符信息
- PhysicalPixel - 通过从Processing或者Max/MSP发送数据到Arduino上,使LED开关。
- ReadASCIIString - 分析整数里一个用逗号分隔的字符串,来使一个LED灯褪色。
- SerialCallResponse - 通过一个呼-应的方法(握手)来发送多个变数
- SerialCallResponseASCII - 通过一个呼-应的方法(握手)来发送多个变数,并在发送前解码(ASCII)这些数值。
- SerialEvent - 示范使用SerialEvent()函数
- VirtualColorMixer - 从Arduino发送多个变数到你的电脑,然后在Processing或者Max/MSP上读取这些数据
纠错,疑问,交流: 请进入讨论区或 请点击进入页面,扫码加入微信群或Q群进行交流
获取最新文章: 扫一扫加入“创客智造”公众号