


Arduino内置教程-显示-条形图
纠错,疑问,交流: 请进入讨论区或 请点击进入页面,扫码加入微信群或Q群进行交流
获取最新文章: 扫一扫加入“创客智造”公众号
LED 条形图
-
这个条形图(一连串的LED灯在一条线上,就像你在音频显示器上面看到的)是一个用于模拟传感器的共用的硬件显示。它由一行LED灯,一个模拟输入如电位计,和一些代码组成。这个教程示范了怎么控制一行LED灯,而应用到任何数字输出。
-
这个教程从for循环,数组和模拟输入的教程里借用一些代码
-
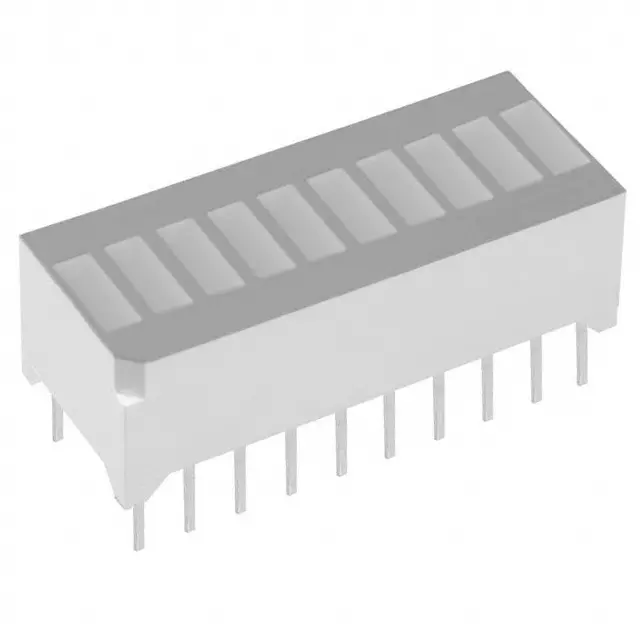
条形图显示
硬件要求
- Arduino or Genuino 开发板
- LED 条形图显示 or 10 LEDs
- 电位计
- 10 220 ohm 电阻
- 连接线
- 面包板
电路
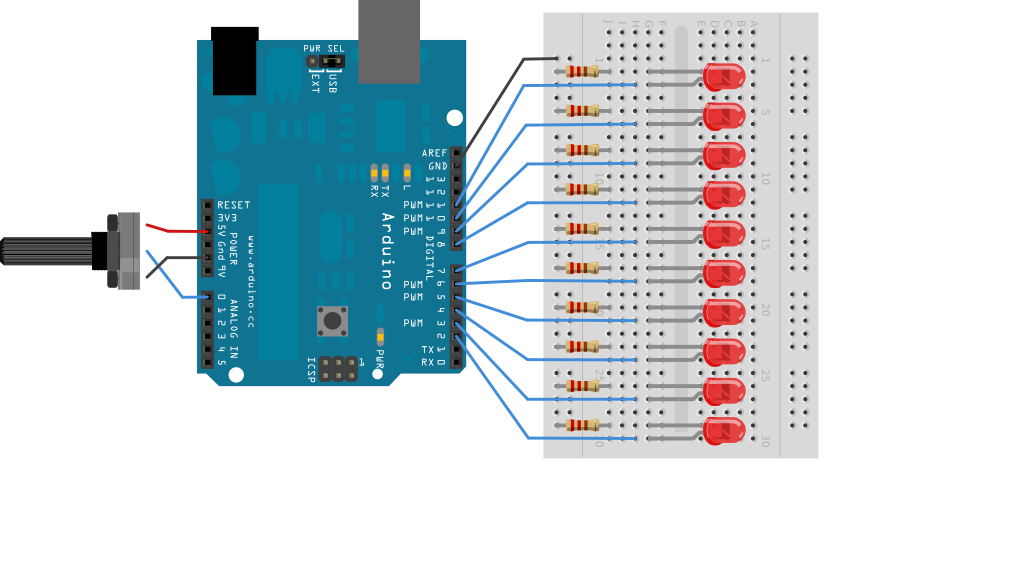
图由 Fritzing 软件绘制。
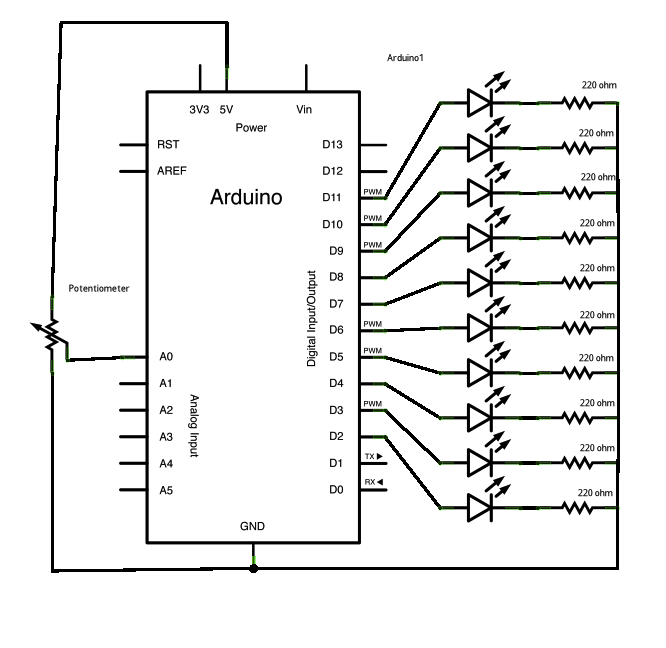
原理图
样例代码
- 程序像这样工作:首先你读取输入。你把输入值匹配到输出的范围,在这里就是10个LED灯。然后你设置一个循环重复这些输出。如果输出的数字比匹配输入范围要低时,打开LED灯。否则,关闭LED灯。
/*
  LED bar graph

  Turns on a series of LEDs based on the value of an analog sensor.
  This is a simple way to make a bar graph display. Though this graph
  uses 10 LEDs, you can use any number by changing the LED count
  and the pins in the array.

  This method can be used to control any series of digital outputs that
  depends on an analog input.

  The circuit:
   * LEDs from pins 2 through 11 to ground

 created 4 Sep 2010
 by Tom Igoe

 This example code is in the public domain.

 http://www.arduino.cc/en/Tutorial/BarGraph
 */


// these constants won't change:
const int analogPin = A0;   // the pin that the potentiometer is attached to
const int ledCount = 10;    // the number of LEDs in the bar graph

int ledPins[] = {
  2, 3, 4, 5, 6, 7, 8, 9, 10, 11
};   // an array of pin numbers to which LEDs are attached


void setup() {
  // loop over the pin array and set them all to output:
  for (int thisLed = 0; thisLed < ledCount; thisLed++) {
    pinMode(ledPins[thisLed], OUTPUT);
  }
}

void loop() {
  // read the potentiometer:
  int sensorReading = analogRead(analogPin);
  // map the result to a range from 0 to the number of LEDs:
  int ledLevel = map(sensorReading, 0, 1023, 0, ledCount);

  // loop over the LED array:
  for (int thisLed = 0; thisLed < ledCount; thisLed++) {
    // if the array element's index is less than ledLevel,
    // turn the pin for this element on:
    if (thisLed < ledLevel) {
      digitalWrite(ledPins[thisLed], HIGH);
    }
    // turn off all pins higher than the ledLevel:
    else {
      digitalWrite(ledPins[thisLed], LOW);
    }
  }
}更多
- pinMode()
- for()
- digitalWrite()
- if...else
- map()
- For Loop Iteration - 在一个for循环里控制多个LED灯
- Arrays - 在For循环例子里的一个变量,示范了怎么使用一个数组。
- Row Column Scanning - 控制一个8×8的LED矩阵
纠错,疑问,交流: 请进入讨论区或 请点击进入页面,扫码加入微信群或Q群进行交流
获取最新文章: 扫一扫加入“创客智造”公众号