ROS2与Turbot3-Multi仿真教程-多机合并建图
文章说明
- 本教程主要介绍如何在ROS2仿真进行多机合并建图测试
- 测试环境:
Ubuntu 24.04+ROS2 Jazzy+Gazebo Harmonic
相关设备
- Turbot3-Multi套件: 采购地址
操作步骤
- 新开终端,启动多机仿真
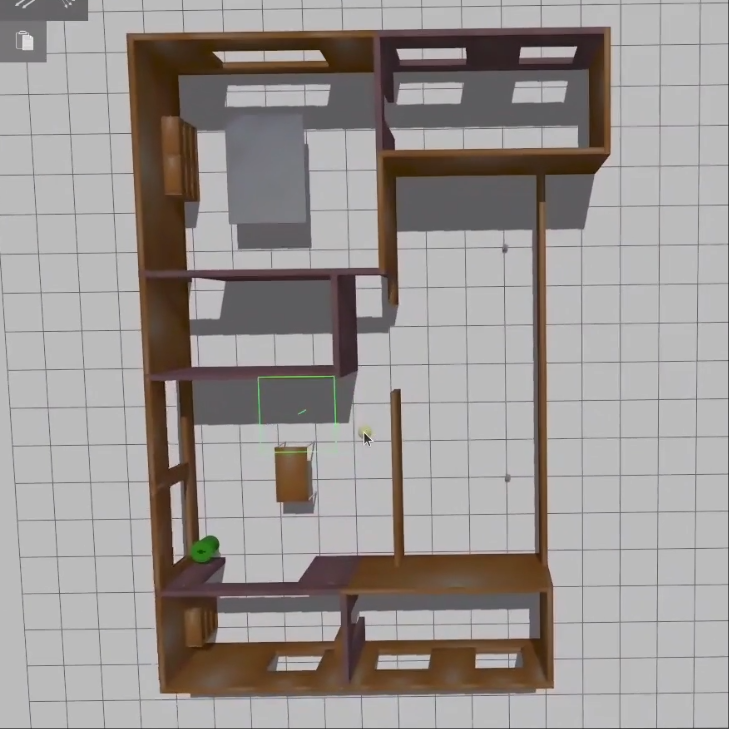
# 默认在Gazebo中加载turbot3_house环境,以及加载名为tb3_0和tb3_1的机器人
$ ./sim_scripts/sim_multi_robot_in_gazebo.sh
- 若想添加更加机器人,可以执行单独加载机器人脚本,或在配置文件上添加
# 加载名为tb3_2的机器人到Gazebo中,且位置为(2,-3)
$ ./sim_scripts/sim_single_robot.sh 2 x_pose:=2 y_pose:=-3 yaw:=1.57

Or

# 修改配置后,再启动sim_multi_robot_in_gazebo.sh脚本
$ vim /home/ubuntu/ros2_t3_ws/src/turbot3_simulations/turbot3_gazebo/config/multi_robot_params.yaml
robots:
  # robot1 pose setting
  - name: tb3_0
    x_pose: -3.0
    y_pose: -3.0
    z_pose: 0.01
    roll: 0.0
    pitch: 0.0
    yaw: 1.57

  # robot2 pose setting
  - name: tb3_1
    x_pose: 3.0
    y_pose: -3.0
    z_pose: 0.01
    roll: 0.0
    pitch: 0.0
    yaw: 1.57

  # robot3 pose setting
  - name: tb3_2
    x_pose: 2.0
    y_pose: -3.0
    z_pose: 0.01
    roll: 0.0
    pitch: 0.0
    yaw: 1.57

- 新开终端,启动建图脚本
$ ./sim_scripts/sim_multi_slam.sh
启动地图合并程序前,先要确定机器人在地图的位置,再配置相应参数 | 详细请参阅:ROS2与Turbot3-Multi多机协同教程-确定机器人的初始位置
那么在本次测试中,基于上面tb3_0和tb3_1在gazebo的坐标可得出
$ vim /home/ubuntu/ros2_t3_ws/src/turbot3/turbot3_multi/config/map_merge_params.yaml
...
    /tb3_0/map_merge/init_pose_x: 0.0
    /tb3_0/map_merge/init_pose_y: -60.0
    /tb3_0/map_merge/init_pose_z: 0.0
    /tb3_0/map_merge/init_pose_yaw: 0.0

    /tb3_1/map_merge/init_pose_x: 0.0
    /tb3_1/map_merge/init_pose_y: 60.0
    /tb3_1/map_merge/init_pose_z: 0.0
    /tb3_1/map_merge/init_pose_yaw: 0.0
- 新开终端,启动地图合并程序
$ ./sim_scripts/sim_multi_map_merge.sh

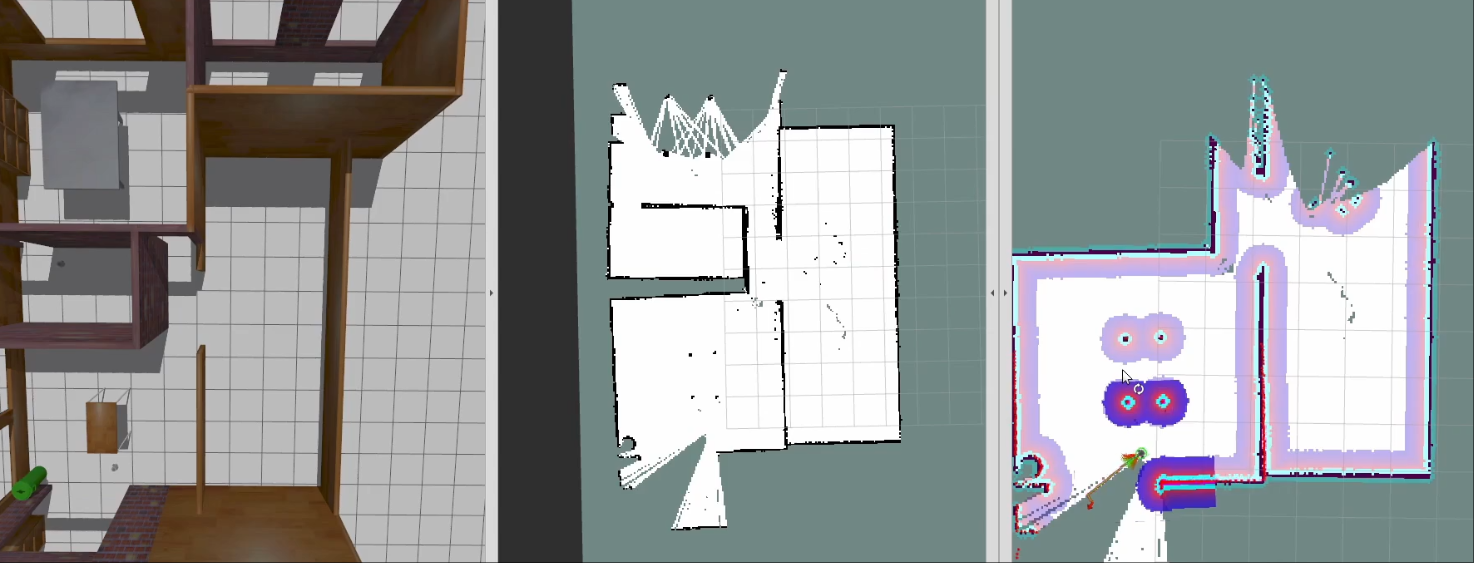
- 移动机器人进行建图
- 新开终端,保存地图
$ ./sim_scripts/sim_multi_save_map.sh
- 新开终端,查看保存的地图
$ eog ~/map/multi.pgm
演示视频
获取最新文章: 扫一扫右上角的二维码加入“创客智造”公众号


