


Arduino库教程-Bridge-Datalogger
纠错,疑问,交流: 请进入讨论区或 请点击进入页面,扫码加入微信群或Q群进行交流
获取最新文章: 扫一扫加入“创客智造”公众号
Yún Datalogger(yun数据记录器)
-
这个例子展示怎样用Bridge库赖从三个模拟传感器里记录数据到一张SD卡或者一个USB闪存。存储器没有连接到微控制器,而是连接到AR9331,这是为什么要用Bridge的原因。
-
在名为“arduino”的根目录下,创建一个新的文件夹来准备你的内存。当OpenWrt-Yun在连接的存储设备里发现这个文件夹时,它会创建一个链接到存储器路径:"/mnt/sd"。
-
当Linux和程序运行,你可以移动闪存;但当数据正在写入卡时,要小心不要移动它。
硬件要求
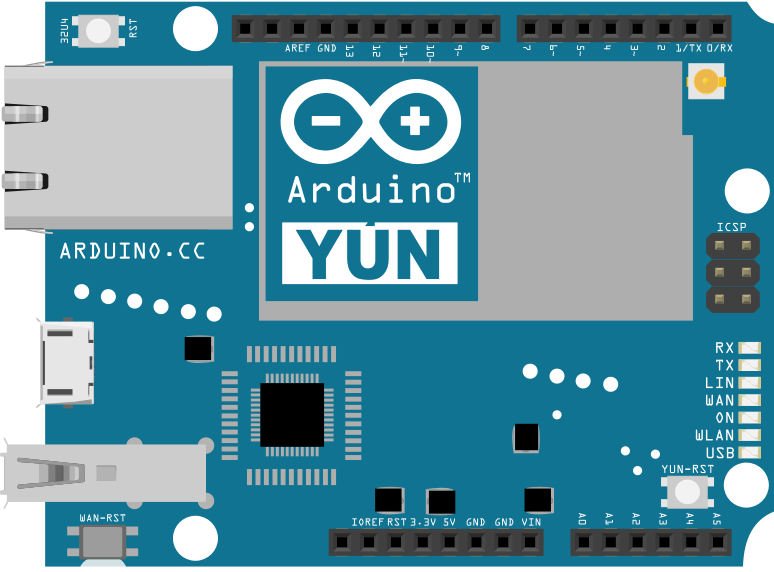
- Yún 开发板 或者 shield
- 微型SD卡 或者 USB 闪存
- 连接到输入引脚pin0,1,2的模拟传感器
电路
这个例子没有额外的电路。
 图由 Fritzing 软件绘制。
样例代码
- 包括FileIO头文件,便于和SD卡通讯。
#include <FileIO.h>- 在setup()里,初始化Bridge,串口通讯,和文件系统(为了和 OpenWrt-Yun 文件系统通讯)。在开始程序其余部分前,先等待一个活动的串口连接。
void setup() {
  Bridge.begin();
  Serial.begin(9600);
  FileSystem.begin();

  while(!Serial);
  Serial.println("Filesystem datalogger\n");
}- 在loop()里,创建一个字符串来伴随着timestamp开始,或者安排记录数据。下面将创建getTimeStamp()函数。
void loop () {
  String dataString;
  dataString += getTimeStamp();
dataString += " = ";- 从传感器里读取数据,并加在字符串后面,用逗号分开这些值:
for (int analogPin = 0; analogPin < 3; analogPin++) {
    int sensor = analogRead(analogPin);
    dataString += String(sensor);
    if (analogPin < 2) {
      dataString += ",";
    }
}- 用一个文件对象和FileSystem.open()函数打开你写入数据的文件。带着调节器FILE_APPEND,你可以写信息到文件的尾端。如果文件不存在,会创建这个文件。这种情况下,你将会在SD卡的根目录创建和写入一个文件,命名"datalog.txt"。
File dataFile = FileSystem.open("/mnt/sd/datalog.txt", FILE_APPEND);- 如果文件成功打开,往里面写入字符串,关闭文件,并打印信息到串口监视器。
if (dataFile) {
    dataFile.println(dataString);
    dataFile.close();
    Serial.println(dataString);
}- 如果在打开文件时有问题,发送一个error到串口监视器:
else {
    Serial.println("error opening datalog.txt");
  }
  delay(15000);
}- 最后,写入函数getTimeStamp() 来检索读取信息的时间。将会返回一个字符串。首先,创建一个字符串来保存当前时间,你也可以创建一个Process的例子叫“time”。开始process并且调用“data”应用。“data”是一种命令行功能,即返回当前数据和时间。用time.addParameter(),你可以指定参数 D和T(返回数据(mm/dd/yy)和当前时间(hh:mm:ss))。运行process,并读取结果到字符串里。
String getTimeStamp() {
  String result;
  Process time;
  time.begin("date");
  time.addParameter("+%D-%T");
  time.run();

  while(time.available()>0) {
    char c = time.read();
    if(c != '\n')
      result += c;
  }

  return result;
}- 完整程序如下:
/*
  SD card datalogger

 This example shows how to log data from three analog sensors
 to an SD card mounted on the Yún101/YunShield/Yún using the Bridge library.

 The circuit:
 * analog sensors on analog pins 0, 1 and 2
 * SD card attached to SD card slot of the Yún101/YunShield/Yún

 Prepare your SD card creating an empty folder in the SD root
 named "arduino". This will ensure that the Yún will create a link
 to the SD to the "/mnt/sd" path.

 You can remove the SD card while the Linux and the
 sketch are running but be careful not to remove it while
 the system is writing to it.

 created  24 Nov 2010
 modified 9 Apr 2012
 by Tom Igoe
 adapted to the Yún Bridge library 20 Jun 2013
 by Federico Vanzati
 modified  21 Jun 2013
 by Tom Igoe

 This example code is in the public domain.

 http://www.arduino.cc/en/Tutorial/YunDatalogger

 */

#include <FileIO.h>

void setup() {
  // Initialize the Bridge and the Serial
  Bridge.begin();
  Serial.begin(9600);
  FileSystem.begin();

  while (!SerialUSB); // wait for Serial port to connect.
  SerialUSB.println("Filesystem datalogger\n");
}


void loop() {
  // make a string that start with a timestamp for assembling the data to log:
  String dataString;
  dataString += getTimeStamp();
  dataString += " = ";

  // read three sensors and append to the string:
  for (int analogPin = 0; analogPin < 3; analogPin++) {
    int sensor = analogRead(analogPin);
    dataString += String(sensor);
    if (analogPin < 2) {
      dataString += ",";  // separate the values with a comma
    }
  }

  // open the file. note that only one file can be open at a time,
  // so you have to close this one before opening another.
  // The FileSystem card is mounted at the following "/mnt/FileSystema1"
  File dataFile = FileSystem.open("/mnt/sd/datalog.txt", FILE_APPEND);

  // if the file is available, write to it:
  if (dataFile) {
    dataFile.println(dataString);
    dataFile.close();
    // print to the serial port too:
    SerialUSB.println(dataString);
  }
  // if the file isn't open, pop up an error:
  else {
    SerialUSB.println("error opening datalog.txt");
  }

  delay(15000);

}

// This function return a string with the time stamp
String getTimeStamp() {
  String result;
  Process time;
  // date is a command line utility to get the date and the time
  // in different formats depending on the additional parameter
  time.begin("date");
  time.addParameter("+%D-%T");  // parameters: D for the complete date mm/dd/yy
  //             T for the time hh:mm:ss
  time.run();  // run the command

  // read the output of the command
  while (time.available() > 0) {
    char c = time.read();
    if (c != '\n') {
      result += c;
    }
  }

  return result;
}更多
- Bridge: 从网页浏览器进入开发板的引脚。
- Console ASCII Table: 示范了怎样打印多种格式到控制台。
- Console Pixel: 通过控制台控制一个LED灯。
- Console Read: 从控制台那里分析信息,然后重复发送返回。
- Datalogger: 在SD卡上保存传感器信息。
- File Write Script: 示范怎样在Process上写入和执行外壳脚本。
- HTTP Client: 建造一个简单的客户端,可以下载网页并且打印到串口监视器。
- HTTP Client Console: 建造一个简单的客户端,可以下载网页并且用控制台通过WIFI打印到串口监视器。
- Mailbox Read Messages: 用REST API通过一个网页发送文本信息到。
- Process: 示范怎么用Process运行 Linux 命令。
- Remote Due Blink: 示范怎么远程上传程序到DUE开发板上。
- Shell Commands: 用Process 来运行 shell 命令。
- SpacebrewYun: 在Arduino IDE软件的例子上看更多关于 Spacebrew 文档信息。
- Temboo: 在Arduino IDE软件的例子上看更多关于 Temboo 文档信息。
- Temperature Web Panel: 当浏览者要求时,粘贴传感数据到网页上。
- Time Check: 从网络的时间服务器获得时间,并且打印到串口监视器。
- WiFi Status: 运行一个预配置的脚本,报告返回当前wifi网络的强度。
- Yun First Config: 用串口监视器不费力地连接你的云产品到wifi网络,并且在上面回答一些简单的问题。
- Yun Serial Terminal: 通过串口监视器进入Linux终端。
纠错,疑问,交流: 请进入讨论区或 请点击进入页面,扫码加入微信群或Q群进行交流
获取最新文章: 扫一扫加入“创客智造”公众号