


Arduino库教程-Bridge-File Write Script
纠错,疑问,交流: 请进入讨论区或 请点击进入页面,扫码加入微信群或Q群进行交流
获取最新文章: 扫一扫加入“创客智造”公众号
File Write Script
- 这个例子用 FileIO classes 写入一个文件到yun设备的文件系统里。在/tmp创建一个shell脚本文件,然后执行。
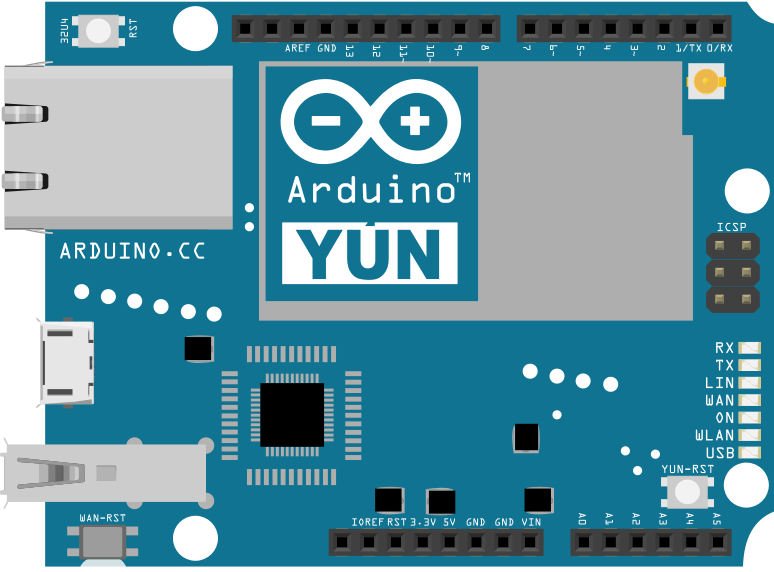
硬件要求
- Yún 开发板 或 shield
电路
- 这个例子没有额外的电路
 图由 Fritzing 软件绘制
样例代码
- 包括FileIO头文件,用来和filesystem通讯
#include <FileIO.h>- 在setup()里,初始化 Bridge, Serial communication, 和 FileSystem。在开始loop()之前,等待一个活动的串口连接,然后调用一个自定义函数uploadScript()(这个会在你的文件里更新的)。
void setup() {
  Bridge.begin();
  Serial.begin(9600);

  while(!Serial);  // wait for Serial port to connect.
  Serial.println("File Write Script example\n\n");

  FileSystem.begin();

  uploadScript();
}- loop()通过调用另一个自定义函数runScript(),将会每5秒钟执行一次你的脚本
void loop() {
  runScript();
  delay(5000);
}- 你的uploadScript()函数将会在Linux文件系统里(系统将会检测wifi接口的网络通畅)创建一个shell脚本。创建一个文件,然后通过创建一个例子`File@ class, 和调用FileSystem.open()(暗示你想创建程序的地方),来打开它。在"/tmp"(驻留在RAM,来保存闪存读/写电路的有限制的数值)保存程序。
void uploadScript() {
File script = FileSystem.open("/tmp/wlan-stats.sh", FILE_WRITE);- 用File.print()写脚本的内容到文件夹里。以打印头文件,"#!/bin/s", 开始,然后ifconfig工具。@ifconfig@是一个命令行工具,用来控制网络连接。你要看WIFI接口(被称为"wlan0")。grep 工具将会寻找ifconfig的输出。你寻找收到字节的数量,所以寻找关键词"RX bytes",并关闭文件。
script.print("#!/bin/sh\n");
  script.print("ifconfig wlan0 | grep 'RX bytes'\n");
script.close(); // close the file- 实例化一个Process来使脚本可执行。chmod@是一个可以改变文件模式的命令。通过发送chmod@@ 命令和文件路径,你可以使你的shell脚本像应用一样运行。
Process chmod;
  chmod.begin("chmod");      // chmod: change mode
  chmod.addParameter("+x");  // x stays for executable
  chmod.addParameter("/tmp/wlan-stats.sh");
  chmod.run();
}- runScript()函数将会创建一个Process,来运行脚本和打印结果到串口监视器。创建一个命名的Process,然后通过调用Process.begin(filepath) 和 Process.run()来开始你的程序。
void runScript() {
  Process myscript;
  myscript.begin("/tmp/wlan-stats.sh");
myscript.run();- 创建一个字符串来保存输出,并且读取输出值到里面去。
String output = "";

  while (myscript.available()) {
    output += (char)myscript.read();
}- 在字符串的开始和结尾部分移动空白键,并打印到串口监视器:
output.trim();
  Serial.println(output);
  Serial.flush();
}- 完整的程序如下:
/*
  Write to file using FileIO classes.

 This sketch demonstrate how to write file into the Yún101/YunShield/Yún filesystem.
 A shell script file is created in /tmp, and it is executed afterwards.

 created 7 June 2010
 by Cristian Maglie

 This example code is in the public domain.

 http://www.arduino.cc/en/Tutorial/FileWriteScript

 */

#include <FileIO.h>

void setup() {
  // Setup Bridge (needed every time we communicate with the Arduino Yún)
  Bridge.begin();
  // Initialize the Serial
  SerialUSB.begin(9600);

  while (!SerialUSB); // wait for Serial port to connect.
  SerialUSB.println("File Write Script example\n\n");

  // Setup File IO
  FileSystem.begin();

  // Upload script used to gain network statistics
  uploadScript();
}

void loop() {
  // Run stats script every 5 secs.
  runScript();
  delay(5000);
}

// this function creates a file into the linux processor that contains a shell script
// to check the network traffic of the WiFi interface
void uploadScript() {
  // Write our shell script in /tmp
  // Using /tmp stores the script in RAM this way we can preserve
  // the limited amount of FLASH erase/write cycles
  File script = FileSystem.open("/tmp/wlan-stats.sh", FILE_WRITE);
  // Shell script header
  script.print("#!/bin/sh\n");
  // shell commands:
  // ifconfig: is a command line utility for controlling the network interfaces.
  //           wlan0 is the interface we want to query
  // grep: search inside the output of the ifconfig command the "RX bytes" keyword
  //       and extract the line that contains it
  script.print("ifconfig wlan0 | grep 'RX bytes'\n");
  script.close();  // close the file

  // Make the script executable
  Process chmod;
  chmod.begin("chmod");      // chmod: change mode
  chmod.addParameter("+x");  // x stays for executable
  chmod.addParameter("/tmp/wlan-stats.sh");  // path to the file to make it executable
  chmod.run();
}


// this function run the script and read the output data
void runScript() {
  // Run the script and show results on the Serial
  Process myscript;
  myscript.begin("/tmp/wlan-stats.sh");
  myscript.run();

  String output = "";

  // read the output of the script
  while (myscript.available()) {
    output += (char)myscript.read();
  }
  // remove the blank spaces at the beginning and the ending of the string
  output.trim();
  SerialUSB.println(output);
  SerialUSB.flush();
}
[Get Code] 更多
- Bridge: 从网页浏览器进入开发板的引脚。
- Console ASCII Table: 示范了怎样打印多种格式到控制台。
- Console Pixel: 通过控制台控制一个LED灯。
- Console Read: 从控制台那里分析信息,然后重复发送返回。
- Datalogger: 在SD卡上保存传感器信息。
- File Write Script: 示范怎样在Process上写入和执行外壳脚本。
- HTTP Client: 建造一个简单的客户端,可以下载网页并且打印到串口监视器。
- HTTP Client Console: 建造一个简单的客户端,可以下载网页并且用控制台通过WIFI打印到串口监视器。
- Mailbox Read Messages: 用REST API通过一个网页发送文本信息到。
- Process: 示范怎么用Process运行 Linux 命令。
- Remote Due Blink: 示范怎么远程上传程序到DUE开发板上。
- Shell Commands: 用Process 来运行 shell 命令。
- SpacebrewYun: 在Arduino IDE软件的例子上看更多关于 Spacebrew 文档信息。
- Temboo: 在Arduino IDE软件的例子上看更多关于 Temboo 文档信息。
- Temperature Web Panel: 当浏览者要求时,粘贴传感数据到网页上。
- Time Check: 从网络的时间服务器获得时间,并且打印到串口监视器。
- WiFi Status: 运行一个预配置的脚本,报告返回当前wifi网络的强度。
- Yun First Config: 用串口监视器不费力地连接你的云产品到wifi网络,并且在上面回答一些简单的问题。
- Yun Serial Terminal: 通过串口监视器进入Linux终端。
纠错,疑问,交流: 请进入讨论区或 请点击进入页面,扫码加入微信群或Q群进行交流
获取最新文章: 扫一扫加入“创客智造”公众号