


Arduino库教程-Bridge-Remote Due Blink
纠错,疑问,交流: 请进入讨论区或 请点击进入页面,扫码加入微信群或Q群进行交流
获取最新文章: 扫一扫加入“创客智造”公众号
Remote Due Blink(遥控Due闪烁)
- 这是基本闪烁例子里的一个特定版本。它用来示范怎样利用Arduino IDE提供的遥控上传特性(通过WiFi或者互联网)上传一个程序到DUE开发板和Yún shield。
准备遥控上传到Arduino
-
要加在基本闪烁上的指令只有checkForRemoteSketchUpdate()函数。就像指令名称暗示那样,这个指令负责检查是否有新程序上传到开发板。这只在Due开发板有有要求,因为你需要在上传新程序之前擦除闪存。和你用USB接口上传程序同样步骤。
-
为了使能遥控上传特性,你第一次需要先用USB线上传这个程序,然后确保你在setup()函数的开头里的所有程序包含checkForRemoteSketchUpdate() 函数。如果你忘记包含它,你需要重新用USB接口上传程序。停止遥控上传功能是一个跟随你意愿的选择。
硬件要求
- Arduino DUE 开发板
- Yún shield (可选, 随后通过WiFi遥控上传)
电路
- 这个程序必须用USB上传,然后下一次上传可以用Yún Shield 和 WiFi。
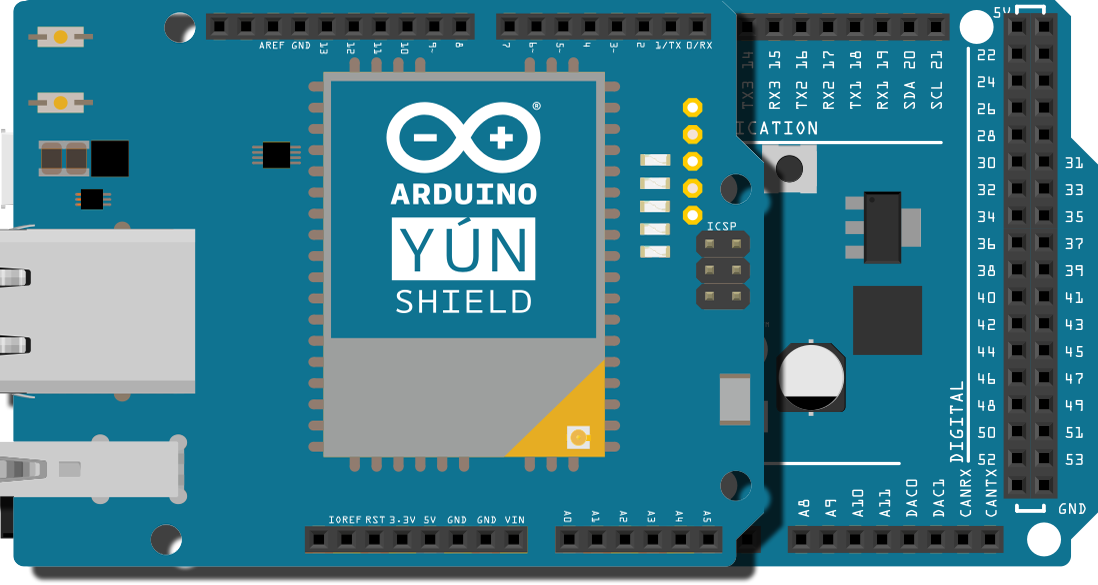 图为 Fritzing 软件绘制
样例代码
- 完整程序如下:
/*
  Blink
  Turns on an LED on for one second, then off for one second, repeatedly.

  Most Arduinos have an on-board LED you can control. On the Uno and
  Leonardo, it is attached to digital pin 13. If you're unsure what
  pin the on-board LED is connected to on your Arduino model, check
  the documentation at http://www.arduino.cc

  This example code is in the public domain.

  modified 8 May 2014
  by Scott Fitzgerald

  modified by Marco Brianza to show the remote sketch update feature on Arduino Due using Yún Shield
 */

#include <Bridge.h>

// the setup function runs once when you press reset or power the board
void setup() {
  checkForRemoteSketchUpdate();
  // initialize digital pin 13 as an output.
  pinMode(13, OUTPUT);
}

// the loop function runs over and over again forever
void loop() {
  digitalWrite(13, HIGH);   // turn the LED on (HIGH is the voltage level)
  delay(100);              // wait for a second
  digitalWrite(13, LOW);    // turn the LED off by making the voltage LOW
  delay(100);              // wait for a second
}
[Get Code] 更多
- Bridge: 从网页浏览器进入开发板的引脚。
- Console ASCII Table: 示范了怎样打印多种格式到控制台。
- Console Pixel: 通过控制台控制一个LED灯。
- Console Read: 从控制台那里分析信息,然后重复发送返回。
- Datalogger: 在SD卡上保存传感器信息。
- File Write Script: 示范怎样在Process上写入和执行外壳脚本。
- HTTP Client: 建造一个简单的客户端,可以下载网页并且打印到串口监视器。
- HTTP Client Console: 建造一个简单的客户端,可以下载网页并且用控制台通过WIFI打印到串口监视器。
- Mailbox Read Messages: 用REST API通过一个网页发送文本信息到。
- Process: 示范怎么用Process运行 Linux 命令。
- Remote Due Blink: 示范怎么远程上传程序到DUE开发板上。
- Shell Commands: 用Process 来运行 shell 命令。
- SpacebrewYun: 在Arduino IDE软件的例子上看更多关于 Spacebrew 文档信息。
- Temboo: 在Arduino IDE软件的例子上看更多关于 Temboo 文档信息。
- Temperature Web Panel: 当浏览者要求时,粘贴传感数据到网页上。
- Time Check: 从网络的时间服务器获得时间,并且打印到串口监视器。
- WiFi Status: 运行一个预配置的脚本,报告返回当前wifi网络的强度。
- Yun First Config: 用串口监视器不费力地连接你的云产品到wifi网络,并且在上面回答一些简单的问题。
- Yun Serial Terminal: 通过串口监视器进入Linux终端。
纠错,疑问,交流: 请进入讨论区或 请点击进入页面,扫码加入微信群或Q群进行交流
获取最新文章: 扫一扫加入“创客智造”公众号