


ROS2与Ailibot2入门教程-校准-IMU校准
纠错,疑问,交流: 请进入讨论区或 请点击进入页面,扫码加入微信群或Q群进行交流
获取最新文章: 扫一扫加入“创客智造”公众号
说明:
- 介绍如何在Ailibot2上校准imu
- Ailibot2默认使用GY-85九轴陀螺仪
- IMU校准的作用减少IMU高敏感度带来的误差
- 小车默认已经校准,除非数据明显差异,否则跳过次步骤
原理
- 小车提供的是自定义的imu的原始值,经过校准后减少误差,再进行imu_filter_madgwick包进行滤波处理,得到一个带四元数方向值的完整的ros2的imu数据值,并发布imu数据到话题/imu/data。
相关设备:
- ailibot2差速系列:采购Ailibot2-D2,采购Ailibot2-D4
- ailibot2全向系列:采购Ailibot2-M4,采购Ailibot2-O3,采购Ailibot2-O4
操作步骤
- [小车] 启动底盘
ros2 launch ailibot2_bringup agent.launch.py- [Ailibot] 开始校准imu,最终生成的配置文件默认保存在包
ailibot2_bringup/param/imu/文件夹里
$ ros2 run ailibot2_calib do_calib
......
Orient IMU with X+ axis - Front side of the robot facing up. Press [ENTER] once done.
Calibrating! This may take a while....
 Done.
Orient IMU with X- axis - Rear side of the robot facing up. Press [ENTER] once done.
Calibrating! This may take a while....
 Done.
Orient IMU with Y+ axis - Left side of the robot facing up. Press [ENTER] once done.
Calibrating! This may take a while....
 Done.
Orient IMU with Y- axis - Right side of the robot facing up. Press [ENTER] once done.
Calibrating! This may take a while....
 Done.
Orient IMU with Z+ axis - Top side of the robot facing up. Press [ENTER] once done.
Calibrating! This may take a while....
 Done.
Orient IMU with Z- axis - Bottom side of the robot facing up. Press [ENTER] once done.
Calibrating! This may take a while....
 Done.
Computing calibration parameters... Success!
Saving calibration file... Success!注:校准时需要根据终端上的提示来翻转小车;比如校准Y+方向的时候,将小车的左面朝上,z-方向就是底面朝上,等等,照此类推
- [Ailibot] 查看文件日期,检查是否生成新的
imu_calib.yaml配置文件
$ ll /home/ubuntu/ros2_ailibot2_ws/src/ailibot2/ailibot2_calib/param- 确认校准的数据正确,将生成的imu_calib.yaml复制到/home/ubuntu/ros2_ailibot2_ws/src/ailibot2/ailibot2_bringup/param
$ cp /home/ubuntu/ros2_ailibot2_ws/src/ailibot2/ailibot2_calib/param/imu_calib.yaml /home/ubuntu/ros2_ailibot2_ws/src/ailibot2/ailibot2_bringup/param- [Remote PC] 启动机器人生成里程
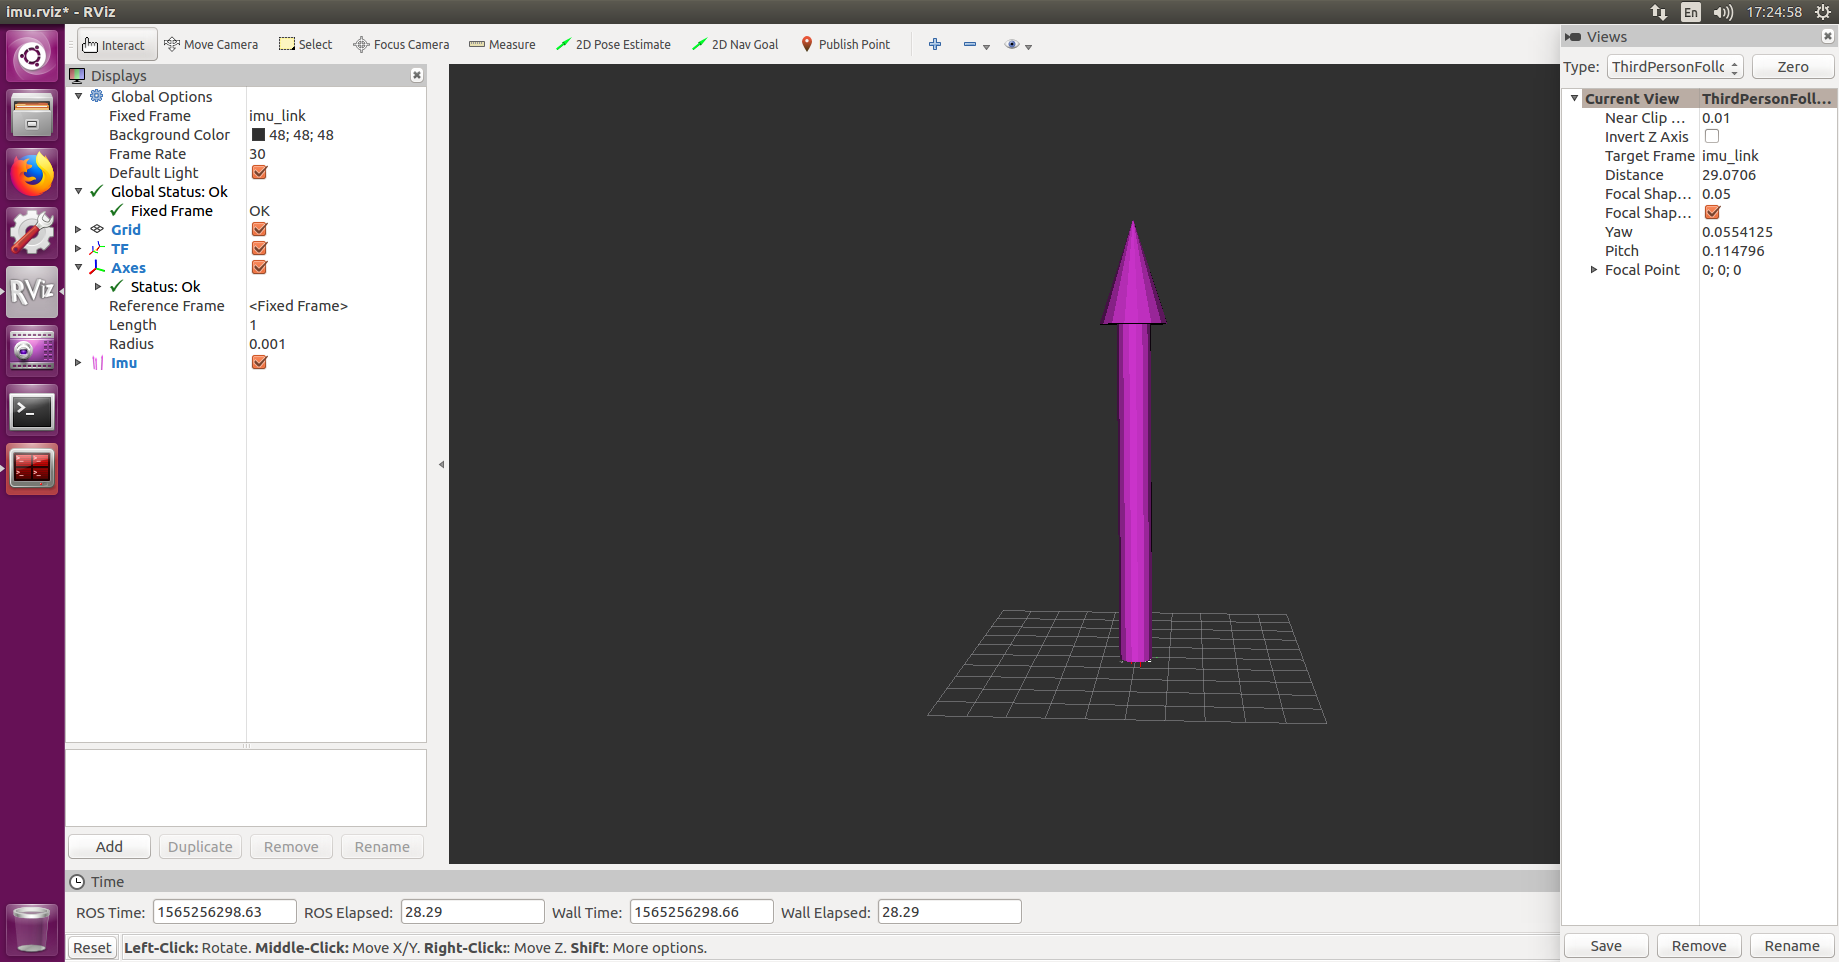
$ ros2 launch ailibot2_bringup robot.launch.py- [Remote PC] 打开rviz查看imu数据
$ ros2 launch ailibot2_bringup rviz2_imu.launch.py-
正常情况下,imu数据较为稳定,不会有大幅度偏移
-
效果如下:
查看imu数据
1.查看原始来自小车的imu数据
- 数据发布在话题/raw_imu
$ ros2 topic echo /raw_imu

---
linear_acceleration:
  x: 1.0346484375
  y: 0.15328125
  z: 9.8483203125
angular_velocity:
  x: -0.06799194713043478
  y: -0.015783844869565217
  z: -0.015783844869565217
magnetic_field:
  x: 2.392e-05
  y: 1.4259999999999999e-05
  z: -3.8731999999999994e-05
---- /raw_imu话题发布的频率
$ ros2 topic hz /raw_imu
average rate: 38.516
	min: 0.003s max: 0.048s std dev: 0.00812s window: 40
average rate: 38.716
	min: 0.002s max: 0.052s std dev: 0.00846s window: 79
average rate: 38.567
	min: 0.002s max: 0.052s std dev: 0.00872s window: 118
2.经过校准后的imu数据
- 经过校准后的imu数据,增加协方差数据,并采用ros2标准的imu格式
- 发布在话题/imu/data_raw
$ ros2 topic echo /imu/data_raw
---
header:
  stamp:
    sec: 1696812611
    nanosec: 337837340
  frame_id: imu_link
orientation:
  x: 0.0
  y: 0.0
  z: 0.0
  w: 1.0
orientation_covariance:
- 0.0025
- 0.0
- 0.0
- 0.0
- 0.0025
- 0.0
- 0.0
- 0.0
- 0.0025
angular_velocity:
  x: -0.0013962631999999836
  y: 0.015261763846956516
  z: -0.0006070709565217415
angular_velocity_covariance:
- 1.0e-06
- 0.0
- 0.0
- 0.0
- 1.0e-06
- 0.0
- 0.0
- 0.0
- 1.0e-06
linear_acceleration:
  x: 0.643722012270846
  y: 0.04275854132881131
  z: 9.834792257029461
linear_acceleration_covariance:
- 0.0001
- 0.0
- 0.0
- 0.0
- 0.0001
- 0.0
- 0.0
- 0.0
- 0.0001
---- /imu/data_raw发布的频率
$ ros2 topic hz /imu/data_raw
average rate: 38.959
	min: 0.001s max: 0.070s std dev: 0.01033s window: 41
average rate: 38.522
	min: 0.001s max: 0.070s std dev: 0.00933s window: 80
average rate: 38.698
min: 0.001s max: 0.070s std dev: 0.00869s window: 120- 磁力计作为单独的话题,发布到/imu/mag
ros2 topic echo /imu/mag
---
header:
  stamp:
    sec: 1696812818
    nanosec: 501811546
  frame_id: imu_link
magnetic_field:
  x: 2.3736000000000004e-05
  y: 1.38e-05
  z: -3.900800000000001e-05
magnetic_field_covariance:
- 0.0
- 0.0
- 0.0
- 0.0
- 0.0
- 0.0
- 0.0
- 0.0
- 0.0
---- /imu/mag的发布频率
$ ros2 topic hz /imu/mag
average rate: 39.433
	min: 0.000s max: 0.293s std dev: 0.04919s window: 41
average rate: 38.778
	min: 0.000s max: 0.293s std dev: 0.03534s window: 80
average rate: 38.935
	min: 0.000s max: 0.293s std dev: 0.02892s window: 120
average rate: 38.807
	min: 0.000s max: 0.293s std dev: 0.02534s window: 159
3. 经过filter_madgwick进行滤波处理的imu数据
- 经过滤波处理的imu数据,增加四元数方向值
- 发布到话题/imu/data
$ ros2 topic echo /imu/data
---
header:
  stamp:
    sec: 1696813140
    nanosec: 65980297
  frame_id: imu_link
orientation:
  x: 0.02092601523280476
  y: -0.02469429004034984
  z: 0.5144051904860141
  w: 0.8569361667749394
orientation_covariance:
- 0.0
- 0.0
- 0.0
- 0.0
- 0.0
- 0.0
- 0.0
- 0.0
- 0.0
angular_velocity:
  x: -0.0013962631999999836
  y: 0.012833480020869559
  z: -0.003035354782608699
angular_velocity_covariance:
- 1.0e-06
- 0.0
- 0.0
- 0.0
- 1.0e-06
- 0.0
- 0.0
- 0.0
- 1.0e-06
linear_acceleration:
  x: 0.644725909157287
  y: 0.12006491677865708
  z: 9.795341470850872
linear_acceleration_covariance:
- 0.0001
- 0.0
- 0.0
- 0.0
- 0.0001
- 0.0
- 0.0
- 0.0
- 0.0001
---- /imu/data发布频率
$ ros2 topic hz  /imu/data
average rate: 36.923
	min: 0.013s max: 0.071s std dev: 0.00972s window: 39
average rate: 38.779
	min: 0.001s max: 0.091s std dev: 0.01634s window: 80
average rate: 38.446
	min: 0.001s max: 0.091s std dev: 0.01565s window: 119
纠错,疑问,交流: 请进入讨论区或 请点击进入页面,扫码加入微信群或Q群进行交流
获取最新文章: 扫一扫加入“创客智造”公众号