ROS2与Gazebo11入门教程-整合velodyne_simulator使用多线雷达数据
ROS2与Gazebo11入门教程-整合velodyne_simulator
说明:
- 介绍如何结合ros2和gazebo11使用velodyne雷达
- 环境:ubuntu20.04 + galactic
步骤:
- 下载源码
- 没有galactic版本,使用foxy版本替代
mkdir -p ~/velodyne_ws/src
cd ~/velodyne_ws/src
git clone -b foxy-devel https://bitbucket.org/DataspeedInc/velodyne_simulator
- 默认启动gazebo不能正确,更改example.launch.py文件
- 修改后内容如下:
- 注释原来启动gazebo的方式,增加新的启动方式
#   start_gazebo = IncludeLaunchDescription(
#     PythonLaunchDescriptionSource(os.path.join(
#       get_package_share_directory('gazebo_ros'), 'launch', 'gazebo.launch.py')),
#     launch_arguments={'world' : world, 'gui' : gui}.items()
#   )

  # Specify the actions
  start_gazebo_server_cmd = ExecuteProcess(
    cmd=['gzserver', '-s', 'libgazebo_ros_init.so',  '-s', 'libgazebo_ros_factory.so', world],
    cwd=[launch_dir], output='screen')

  start_gazebo_client_cmd = ExecuteProcess(
    cmd=['gzclient'],
    cwd=[launch_dir], output='screen')

  ld = LaunchDescription()

  # Add the actions
  ld.add_action(declare_gpu_cmd)
  ld.add_action(declare_organize_cloud_cmd)
  ld.add_action(declare_gui_cmd)
#   ld.add_action(start_gazebo)
  ld.add_action(start_gazebo_server_cmd)
  ld.add_action(start_gazebo_client_cmd)
  ld.add_action(start_robot_state_publisher_cmd)
  ld.add_action(spawn_example_cmd)
  ld.add_action(start_rviz_cmd)
  ld.add_action(exit_event_handler)
- 编译
cd ~/velodyne_ws/
colcon build --symlink-install
- 使用
. ~/velodyne_ws/install/local_setup.bash
ros2 launch velodyne_description example.launch.py
- 如果带GPU可以运行
. ~/velodyne_ws/install/local_setup.bash
ros2 launch velodyne_description example.launch.py gpu:=true
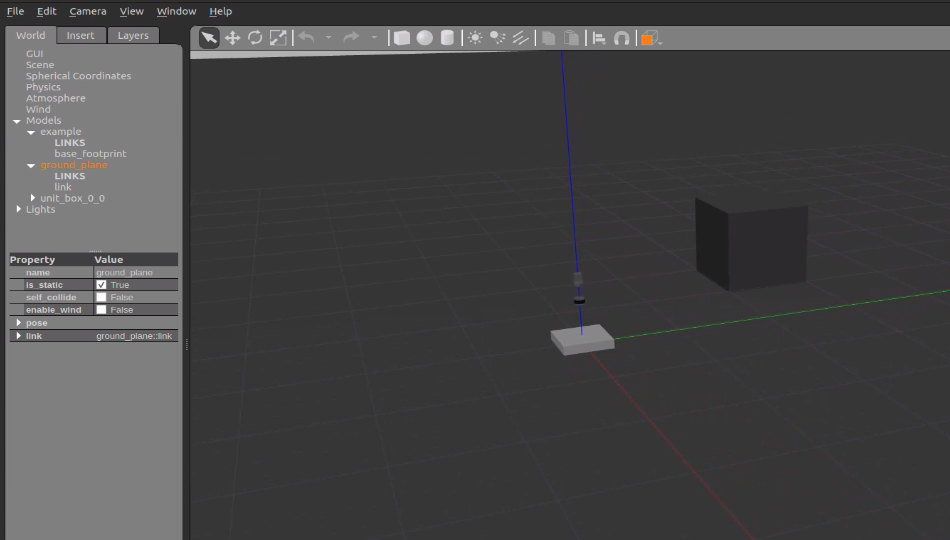
- gazebo效果图

- rviz效果图

- 查看话题列表
$ ros2 topic list
/clicked_point
/clock
/goal_pose
/initialpose
/joint_states
/parameter_events
/performance_metrics
/robot_description
/rosout
/tf
/tf_static
/velodyne_points
/velodyne_points2
- 查看vlp16线话题/velodyne_points内容, 查看HDL-32E线话题/velodyne_points2内容
$ ros2 topic echo /velodyne_points
---
header:
  stamp:
    sec: 191
    nanosec: 361000000
  frame_id: velodyne
height: 1
width: 3707
fields:
- name: x
  offset: 0
  datatype: 7
  count: 1
- name: y
  offset: 4
  datatype: 7
  count: 1
- name: z
  offset: 8
  datatype: 7
  count: 1
- name: intensity
  offset: 12
  datatype: 7
  count: 1
- name: ring
  offset: 16
  datatype: 4
  count: 1
- name: time
  offset: 18
  datatype: 7
  count: 1
is_bigendian: false
point_step: 22
row_step: 81554
data:
- 1
- 171
- 232
- 191
- 96
- 217
- 161
- 182
- 86
- 95
- 249
- 190
- 0
- 0
- 0
- 0
- 0
- 0
- 0
- 0
- 0
- 0
- 13
- 102
- 7
- 192
- 106
- 95
- 5
- 0
- '...'
is_dense: true
获取最新文章: 扫一扫右上角的二维码加入“创客智造”公众号


