


ROS2版Turbot3-Multi仿真教程-多机绘图导航-数字
纠错,疑问,交流: 请进入讨论区或 请点击进入页面,扫码加入微信群或Q群进行交流
获取最新文章: 扫一扫加入“创客智造”公众号
欢迎加入我们的turtlebot3交流群,微信扫描右侧二维码立即进群交流

文章说明
- 本教程主要介绍如何在ROS2仿真进行多机绘图导航测试
- 测试环境:
Ubuntu 24.04+ROS2 Jazzy+Gazebo Harmonic
相关设备
- Turbot3-Multi套件: 采购地址
前提准备
- 默认在Gazebo中加载
big_map环境,其为一个用围墙围起来20x20m的空间 - 地图已经提前创建在
~/map文件中,名称为big_map.pgm和big_map.yaml - 如果想重新创建地图,请参考ROS2版Turbot3-Multi仿真教程-单机遥控建图
- 进行大地图建图时,需要调整仿真中雷达的增加最大扫描范围到20和水平采样率增大到720
$ vim /home/ubuntu/ros2_t3_ws/src/turbot3_simulations/turbot3_gazebo/models/turtlebot3_burger/model_with_namespace.sdf
...
          <scan>
            <horizontal>
              <samples>720</samples>
              <resolution>1.000000</resolution>
              <min_angle>0.000000</min_angle>
              <max_angle>6.280000</max_angle>
            </horizontal>
          </scan>
          <range>
            <min>0.120000</min>
            <max>20</max>
            <resolution>0.001</resolution>
          </range>
操作步骤
- 新开终端,启动多机仿真
# 在Gazebo中加载big_map环境,以及加载6台的机器人
$ ./sim_scripts/sim_multi_robot_in_gazebo.sh- 地图参数和机器人位置参数存
turbot3_gazebo/config/multi_robot_params.yaml下
world: big_map # The world file is stored in the turbot3_gazebo/models directory

robots:
  # robot1 pose setting
  - name: tb3_0
    x_pose: -8.0
    y_pose: 0.0
    z_pose: 0.01
    roll: 0.0
    pitch: 0.0
    yaw: 0.0

  # robot2 pose setting
  - name: tb3_1
    x_pose: -8.0
    y_pose: 1.0
    z_pose: 0.01
    roll: 0.0
    pitch: 0.0
    yaw: 0.0

  # robot3 pose setting
  - name: tb3_2
    x_pose: -8.0
    y_pose: 2.0
    z_pose: 0.01
    roll: 0.0
    pitch: 0.0
    yaw: 0.0

  # robot4 pose setting
  - name: tb3_3
    x_pose: -8.0
    y_pose: 3.0
    z_pose: 0.01
    roll: 0.0
    pitch: 0.0
    yaw: 0.0

  # robot5 pose setting
  - name: tb3_4
    x_pose: -8.0
    y_pose: 4.0
    z_pose: 0.01
    roll: 0.0
    pitch: 0.0
    yaw: 0.0

  # robot6 pose setting
  - name: tb3_5
    x_pose: -8.0
    y_pose: 5.0
    z_pose: 0.01
    roll: 0.0
    pitch: 0.0
    yaw: 0.0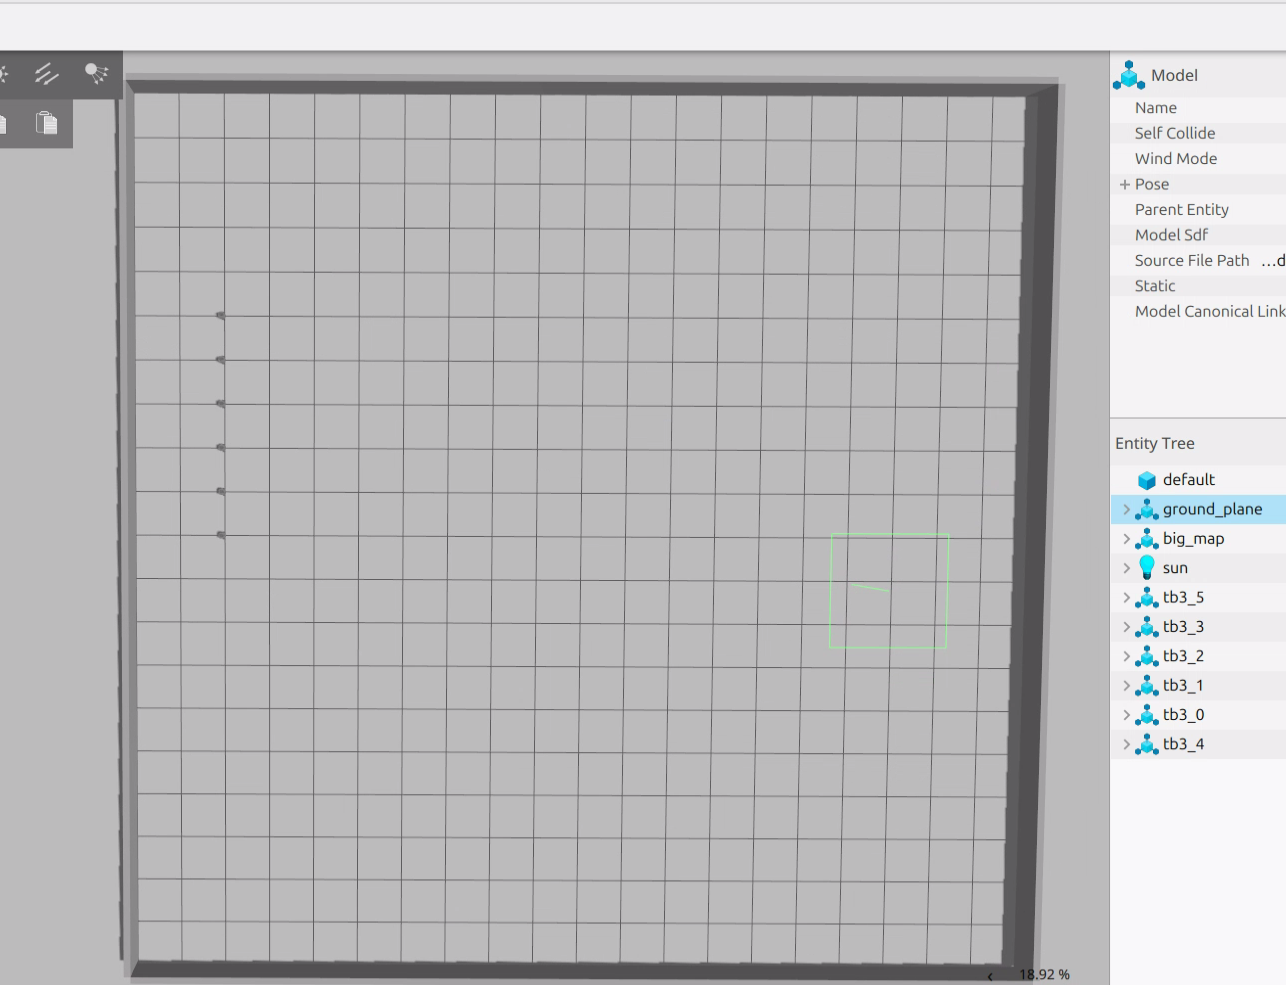
- 启动多机导航程序
$ ./sim_scripts/sim_multi_nav_big_map.sh- 启动初始化位姿脚本
$ ./sim_scripts/sim_multi_nav_init_pose.sh- 启动绘制导航点脚本
$ ./sim_scripts/sim_multi_draw_generator.sh number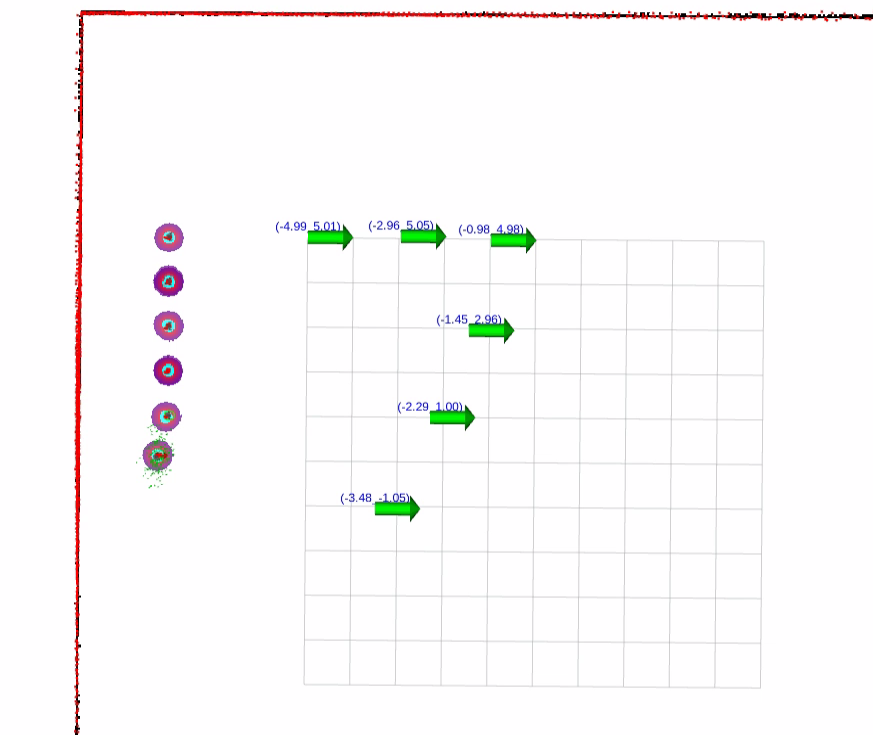
- 运行生成图形确认脚本
$ ./sim_scripts/sim_multi_draw_plot.sh number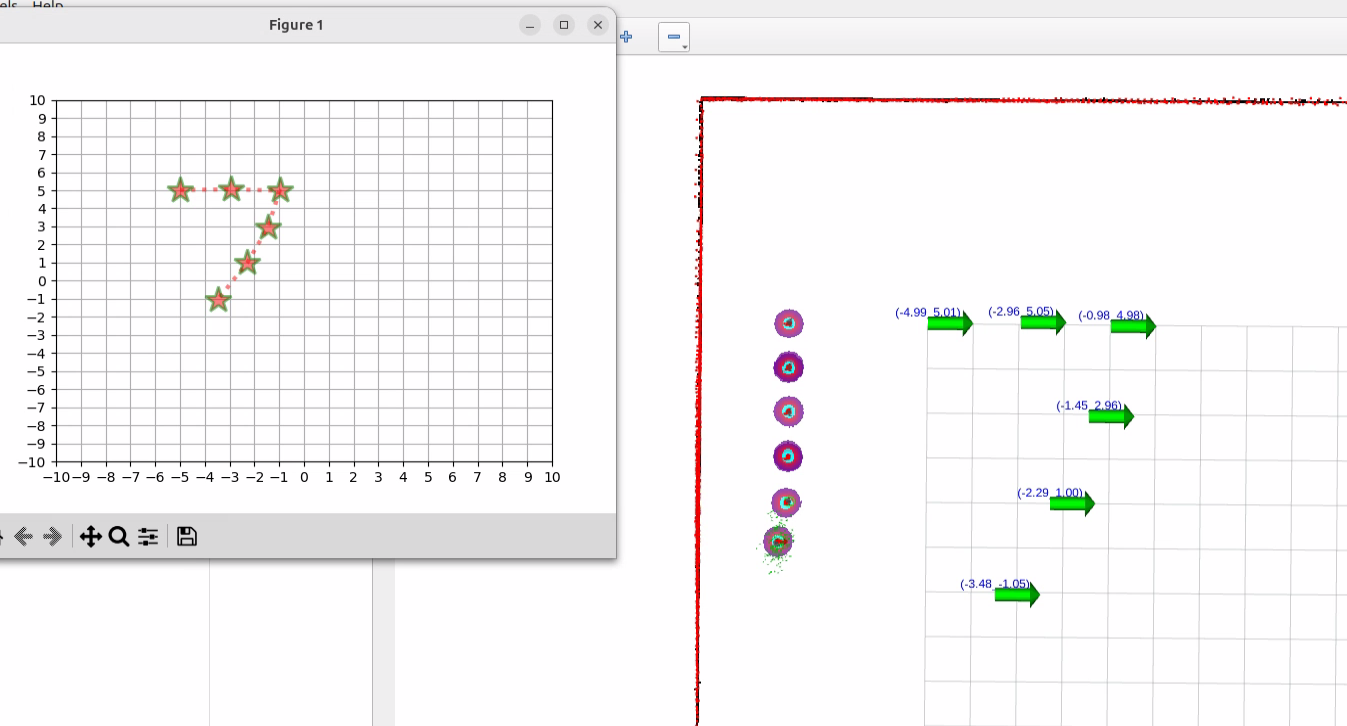
- 启动导航
$ ./sim_scripts/sim_multi_draw_tour.sh number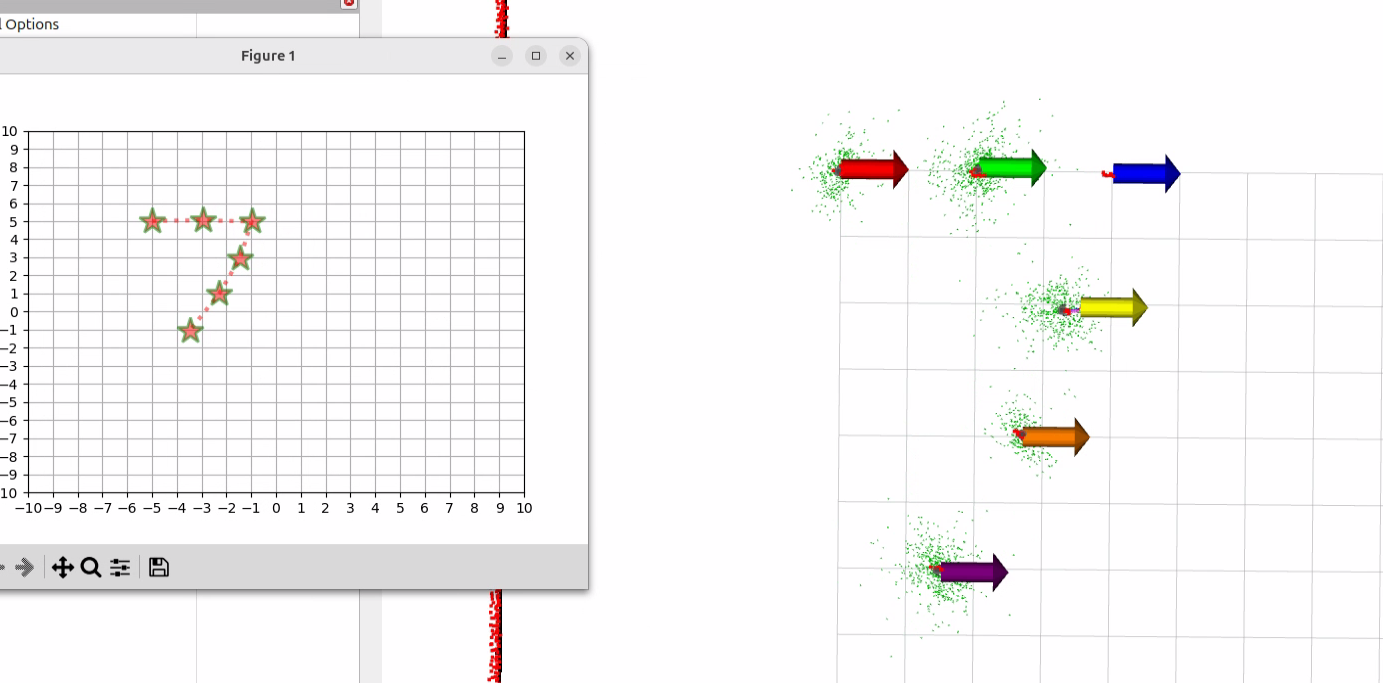
- 回到原位
$ ./sim_scripts/sim_multi_draw_reset.sh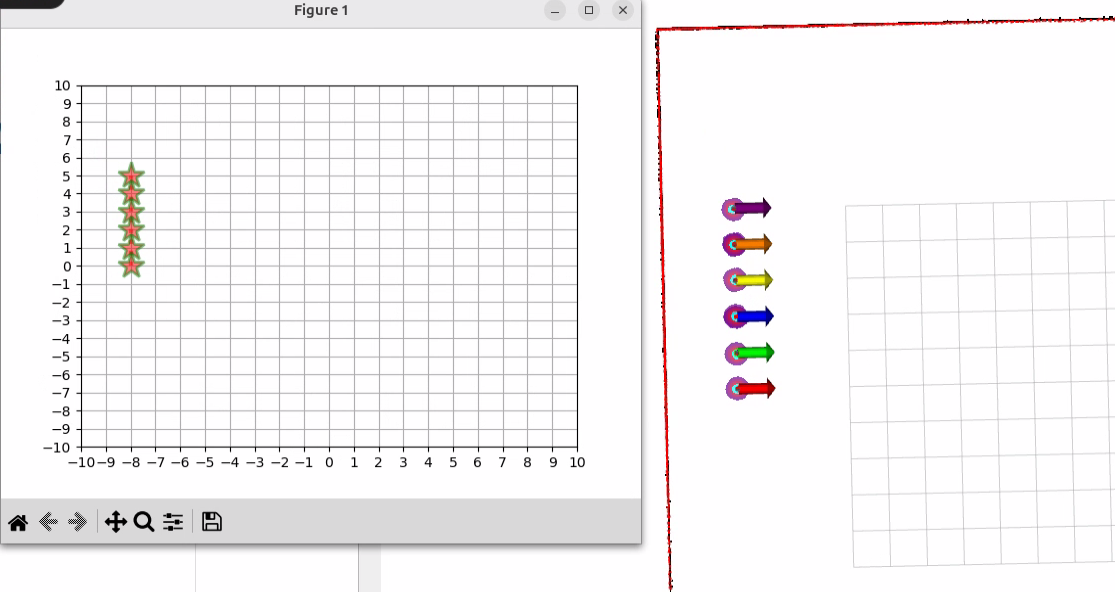
演示视频
<iframe height=498 width=100% src="//player.bilibili.com/player.html?isOutside=true&aid=115015684259997&bvid=BV1A4tdznEoq&cid=31648320352&p=1&high_quality=1&danmaku=0" scrolling="no" border="0" frameborder="no" framespacing="0" allowfullscreen="true"></iframe>纠错,疑问,交流: 请进入讨论区或 请点击进入页面,扫码加入微信群或Q群进行交流
获取最新文章: 扫一扫加入“创客智造”公众号
欢迎加入我们的turtlebot3交流群,微信扫描右侧二维码立即进群交流