


Pixhawk无人机教程-6.9 安装 3DR UBlox GPS + Compass 模块
纠错,疑问,交流: 请进入讨论区或 请点击进入页面,扫码加入微信群或Q群进行交流
获取最新文章: 扫一扫加入“创客智造”公众号
安装 3DR UBlox GPS + Compass 模块
Installing the 3DR UBlox GPS + Compass Module
Note! If you are only installing the stand alone external Magnetometer without the GPS go (Here!)
Connecting the GPS / Magnetometer Module
A GPS module provides enhanced positioning for autonomous flight. Connect your GPS to your autopilot by following these steps.
Note: The 3DR UBLOX GPS / Magnetometer module currently works with APM:Plane, APM:Rover and the APM:Copter version 3.0 Beta firmware. The module will be fully supported in APM:Copter with version 3.0 “Release” code and it does not work with the current APM:Copter 2.9.x release firmware. 3DR GPS uBlox with Onboard Compass
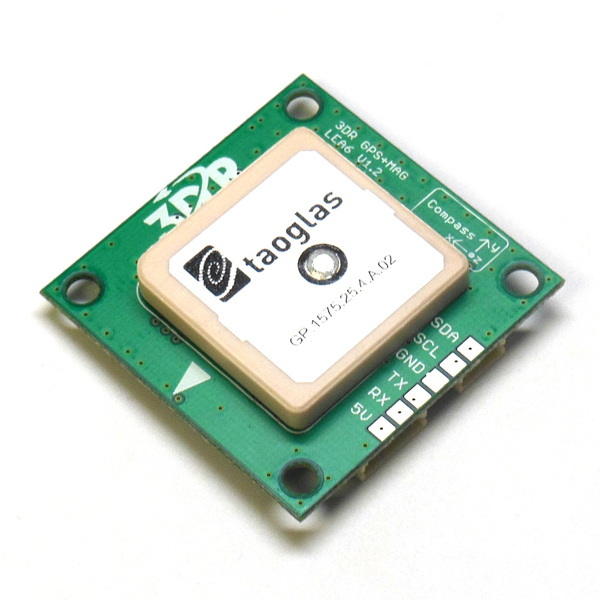
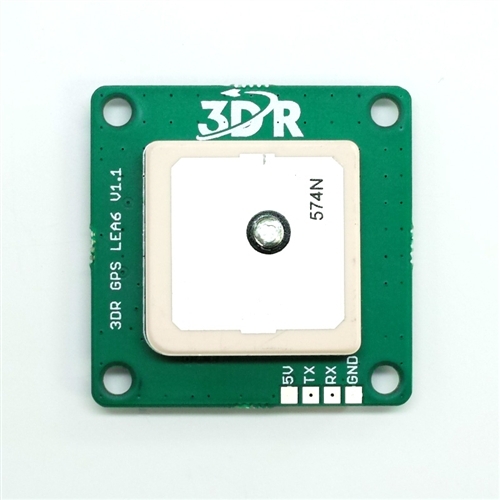
The 3DR GPS uBlox with Onboard Compass is intended for use with APM 2.6 (for external compass).
This module permits the GPS to be mounted separately from the flight control module so that it can have the best clear (view) of the sky.
It also permits the the compass to be distanced from interfering magnetic fields.
The magnetometer is strongly affected by nearby DC power wiring and the batteries and the module should be distanced from them by at least several inches and power and ground wires should be twisted together where possible.
The Module should also be clear of nearby iron containing metallic objects, (use nylon or non magnetic stainless steel hardware and nylon or aluminum standoffs to mount the module).
Place your GPS / Compass module on the outside of your vehicle (in an elevated position if appropriate) with a clear view of the sky, as far as possible from the motors and ESCs, with the arrow facing forward.
Connect the GPS module to the APM 2.6 using the two cables included with the GPS as shown below.
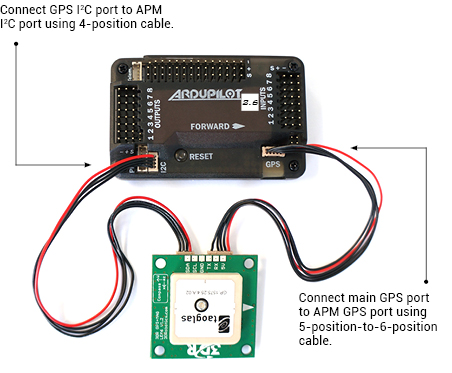
3DR GPS uBlox with Onboard Compass includes two connector cables: one 4-position cable and one 5-position-to-6-position cable. To connect the GPS module to APM 2.6, connect the GPS to the APM GPS port using the 5-position-to-6-position cable; connect the GPS to the APM I2C port using the 4-position cable.
Note: If the GPS / Magnetometer board is mounted in its correct direction (arrow pointing forward) and the Flight controller board is also mounted right side up with its arrow pointing forward, the (COMPASS_ORIENT) parameter will need to be set to (Roll 180) or “8″ because the compass is upside down under the GPS modules antenna.
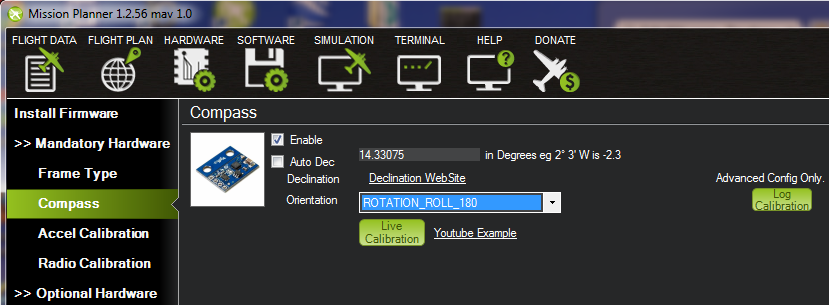
Start Mission Planner and connect your flight control board: APM or PX4 and select the “Connect” tab. Select the “Hardware” tab, then select the left menu “Mandatory Hardware” tab and then select the “Compass” tab.
Select the down arrow in the compass orientation pull down item and select “ROTATION_ROLL_180″.
Note: You will need to set the Magnetometer Orientation Parameter (COMPASS_ORIENT) in the Mission Planner Advanced Parameter List correctly to accommodate the Magnetometer’s orientation. Note: If the Flight controller board is used in an alternate orientation (or upside down), the (COMPASS_ORIENT) parameter will need to also be adjusted to accommodate the Flight controller boards orientation as well as it’s own. (They are additive).
In order to properly setup the Magnetometer you should follow one of the Configuration procedures (Here!)
INSTRUCTIONS FOR THE PX4
The PX4 does not require any modifications to the PX4 boards at all. The GPS connector plugs into the PX4FMU’s GPS connector.
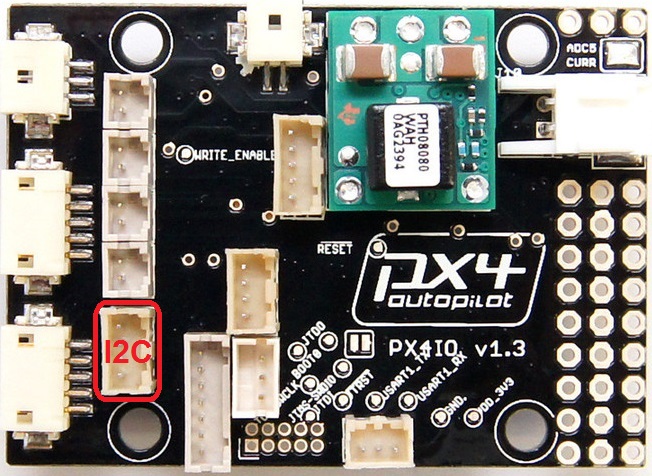
When the external Magnetometer is plugged into the PX4IO boards I2C port it is automatically detected and used and the internal one is disabled.
The PX4IO boards I2C port is the 4 pin connector located on the board side opposite the Servo Out connectors in the second row of connectors in and next to the board mounting hole.
The “COMPASS_ORIENT” Parameter will need to be set as described previously to include a “Roll 180″.
3DR GPS uBlox without Onboard Compass and APM 2.5
The 3DR GPS uBlox without on board Compass is intended for use with APM 2.5.
To install your GPS module without compass, mount to the outside of your vehicle with a clear view of the sky and connect to the APM 2.5 GPS port using the 5-position-to-6-position connector cable.
The APM 2.5 can also be used with the combination GPS / compass module by wiring the magnetometer and cutting the solder bridge as shown (Here!) and then following the instructions above for the APM 2.6.
纠错,疑问,交流: 请进入讨论区或 请点击进入页面,扫码加入微信群或Q群进行交流
获取最新文章: 扫一扫加入“创客智造”公众号